1) duplicate the original layer, in this example a scenic with a strong red cast

2) Apply Filter>Blur>Average to get ...

... a layer of just one color - the color cast with RGB values of 123:108:118


3) Invert the color layer ...
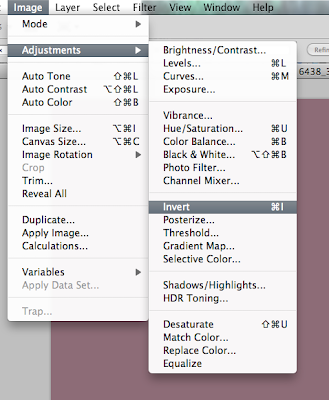
... to get the complementary (opposite) color with RGB values of 114:148:138
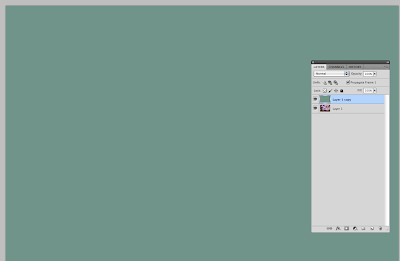
4) Blend Color mode


... to get the complementary (opposite) color with RGB values of 114:148:138

4) Blend Color mode

5) Change opacity to 10-40%

6) If it looks 'flat' add a bit of saturation. As this looks ok to me, I did not add any saturation. Compare the color cast removed version (this one) with the original in step 1 above.

Based on a presentation to the Berkeley Camera Club by Bernadette Talbot
A nice YouTube 'how to' by Tim Grey at http://www.youtube.com/watch?v=UAQsOeCCrAY


No comments:
Post a Comment