Restoring Old Comics
and Memories
Ken Osborn © 2012
If you know Photoshop, like old comics, and would like to
see what they looked like new, read on.
I was and still am a big fan of Carl Barks duck stories:
Donald Duck; his nephews Huey, Dewey, and Louie; Uncle Scrooge and a host of
relatives.
Trying to refresh my memory
on a Scrooge adventure I found an incredible resource, the Duck Comics Revue by
Geoff Moses at
http://duckcomicsrevue.blogspot.com/.
Geoff’s blog is filled with all sorts of goodies including
panels from some well remembered stories.
But after a few decades the print had faded. Those old dime comics were printed on a
cheaper paper and were not intended to last forever.
But with Photoshop it’s possible to restore these faded
memories to their former glory. Below are an original scan of a comic panel from the Duck Comics Revue followed by the restored
version.
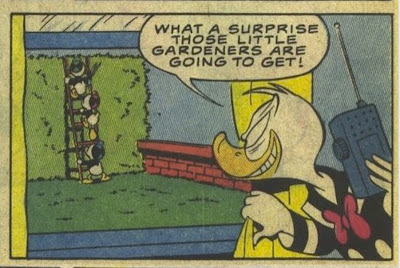 |
| Faded Original |
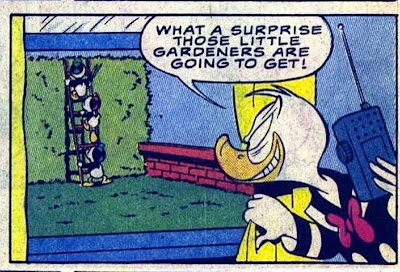 |
| Restored Contrast and Colors |
Starting with the scan, open it in Photoshop and take a look
at the histogram.
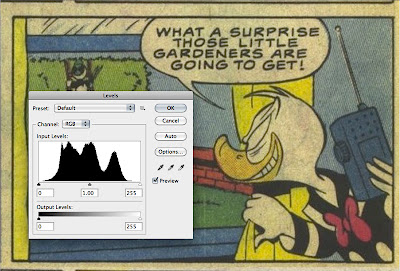 |
| Histogram Using Photoshop Levels |
The histogram is not evenly spread across the full
width with a space at the right (highlights) end consistent with the yellow
faded appearance. Mouse click the ‘Auto’
button to improve the contrast.
 |
| Auto Adjust Levels |
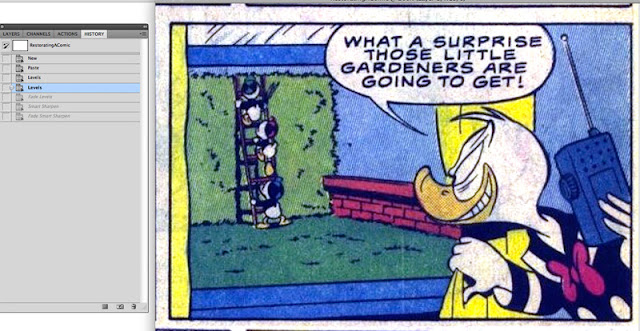
Notice that the histogram is now spread across the full
width and the contrast has improved. But there is still a yellow cast.
To remove the yellow cast select the white
‘eye dropper’ (it’s the one on the right) and then use it to select an area of
the panel border that is yellow but originally white.
 |
| Eye Dropper for Bright Whites |
 |
| Maybe too white |
This is probably a bit harsh and the original was probably
somewhere between bright white and faded yellow, so fade the levels about 50%.
 |
| Levels Faded 50% |
Scanning the comic book will usually leave the print just a little soft, so a bit of sharpening may make the content a little more readable but it’s easy to overdo it so you may need to fade the sharpening.
Sharpening a Little Harsh with Halos
Sharpening Faded
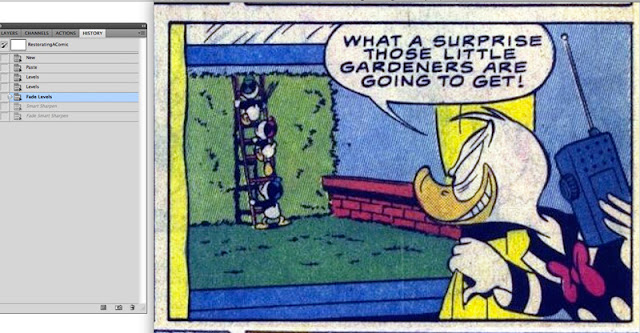
Before leaving the topic, here is one more example from a
classic Donald Duck adventure, Trick or Treat (1952).
 |
| Original from Trick or Treat |